Took me some thinking to get it right.....and of course many questions to other builders as how they approached the issue.
One thing I knew : I was going to use alu channels to slide in the vertical panel as well as the cabin top hatch. The point was trying to make the whole thing as water tight as possible... And because of that decision I started thinking about a zillion different ways to do it.
I started glueing thin strips of wood on the cabin interior all around the hatch opening. Those strips only purpose was to give me enough surface to glue the alu channel on. Indeed, the U shaped alu channel is just about 6mm internally (thickness of my ply) but about 8mm externally. So İ needed to make that ply a little thicker. Those strips added about the 2mm needed. They will also serve as the base to glue on the additional ply I will use to cover and hide the alu channel.

Once the strips were glued, I epoxied the alu channel all around. Easy for the vertical bit and a little trickier for the horizontal part. To position the rails at their exact position I slid the top door in for perfect alignment and used blue tape to secure everything in place.
If it fitted perfectly in before gluing, I reckoned it should fit just as perfect after the alu channel were epoxied in place.


Third step was to glue additional ply strips behind all alu channels.
For the horizontal door, those ply strips will help support the alu channels if someone decides to step on the hatch when it is closed..... :( I believe they will also help with the water tightness issue.


For the vertical door, they make for a nice groove to hide the alu channel and helps out preventing water coming in.
Fourth step was find a way to hide those alu channels while the horizontal hatch is open and removed. To do that , İ used thinner strips of wood that İ simply glued on top of the alu channel.One can see on the below picture the small notch İ had to leave on the sides to allow the vertical panel to slide in. These openings would be later covered up by the upper hatch.


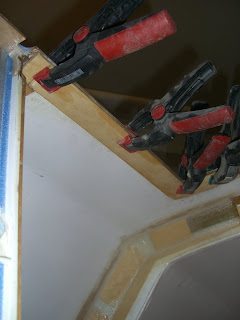
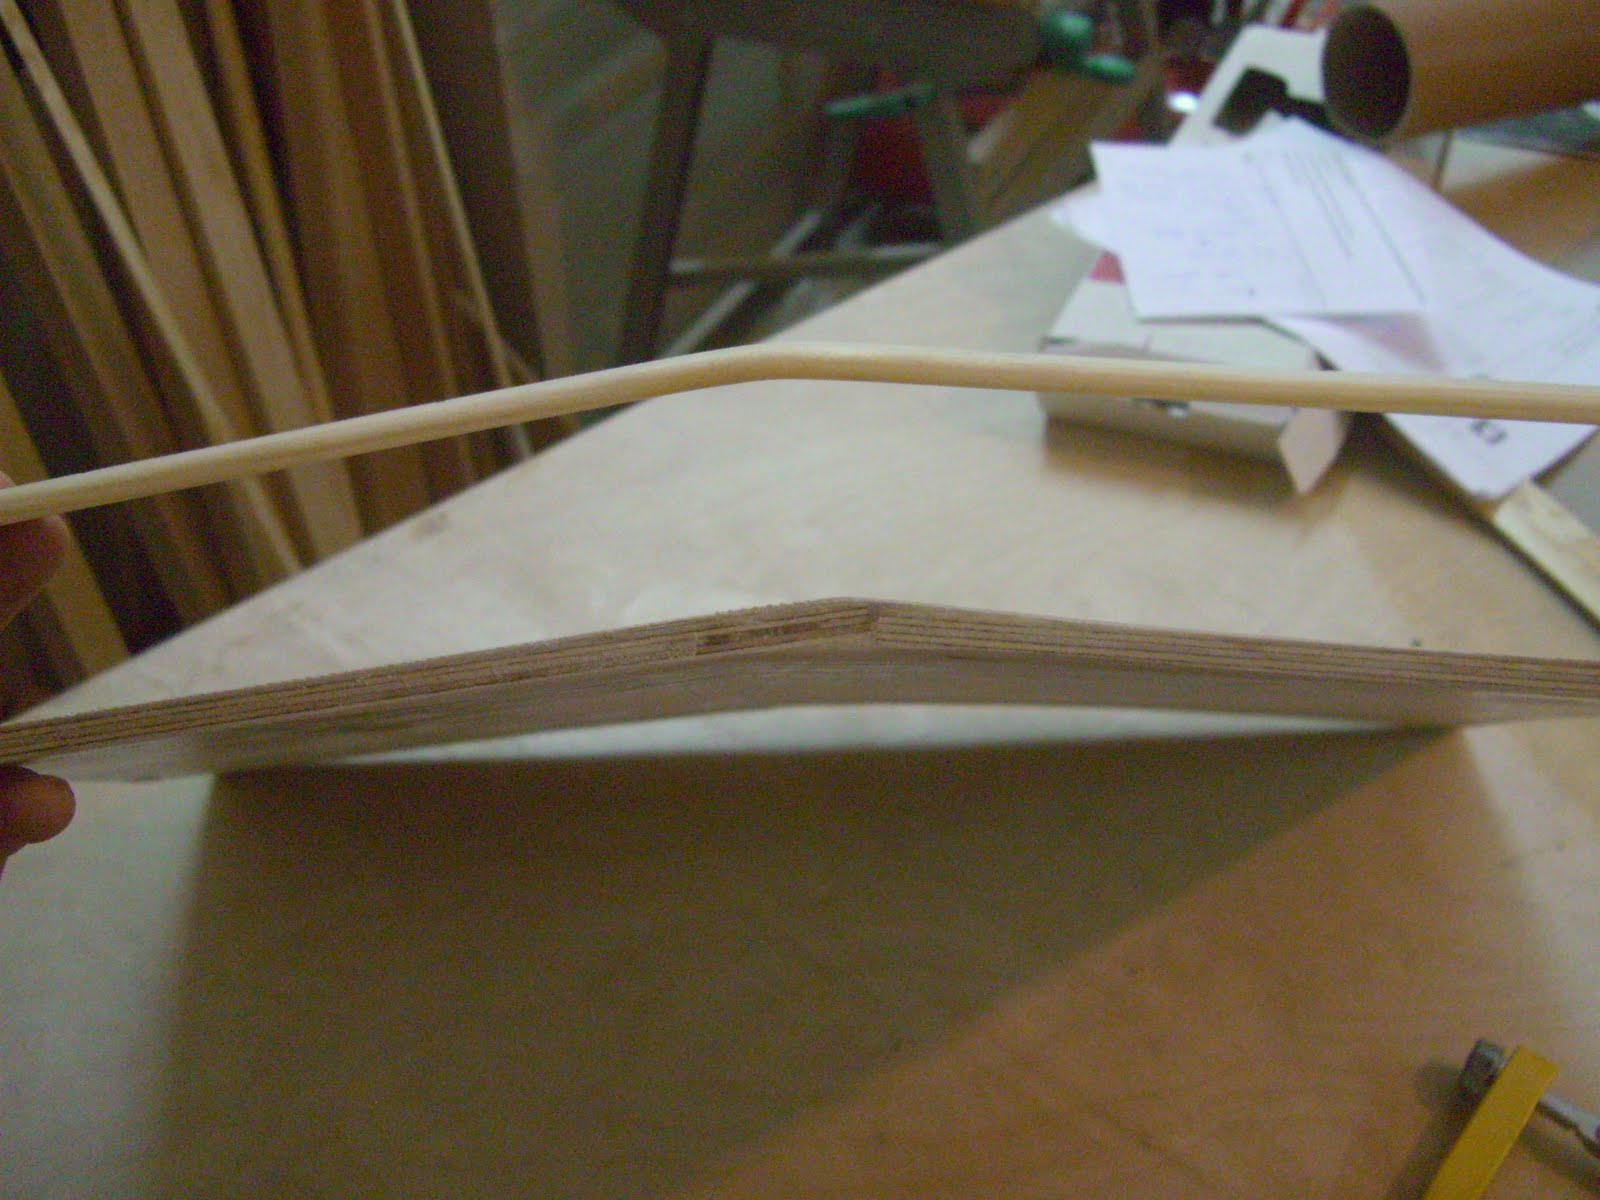
İt was fun to "mold" the V shaped batten to fit the front shape of the cabin. İ left it in a bucket of water overnight, clamped it to the cabin hatch the next day and let it dry. When İ removed the clamps, it was perfectly molded to the cabin shape. All İ had to do was epoxi it the followıng day.

At that point İ had my basic hatch done. İt looked good. But trying to make that upper hatch water proof was another challenge....!
What İ did was to glue other strips of ply ON TOP of the cabin hatch. Those strips follow the natural slope of the upper hatch and should therefore divert any water away from the U channels.
What İ did was to glue other strips of ply ON TOP of the cabin hatch. Those strips follow the natural slope of the upper hatch and should therefore divert any water away from the U channels.
Easier to understand with pictures than with words. Took a lot of trial and error, as well as back and forth to the wood shop, to finally find what İ needed and get it right.


So to close my cabin entrance İ first slide in the vertical panel ........... (through the side notch)

......and then slide in the horizontal panel


And this is what it looked when it is all closed up:

Minor adjustments and finishing touches are still necessary and İ already know İ will have to rework the waterproof issue cause water will get in no matter what, but İ am basically done with it.

Minor adjustments and finishing touches are still necessary and İ already know İ will have to rework the waterproof issue cause water will get in no matter what, but İ am basically done with it.
İ will let you guys know how it all work out as soon as my boat hits the water.
.jpg)


.jpg)

No comments:
Post a Comment