Sunday, March 27, 2011

carbon Tiller

That is one piece that İ really enjoyed building. İt was rather quick to do and the materials were pleasant to work with.


İ am not sure why but İ had this obsessive idea of building my tiller with two ply skins and a foam core. For whatever reason İ did not feel like building it just out of foam.


So the first thing İ did was use a straight stick place it on the boat as if it was the tiller. Got all my measurements from there - length, height, where to start and finish curves etc...


From there , İ used flat scrap piece of ply, reported all the measurements previously taken and used a long flexible batten to draw the curves.

Little screws were used to secure and force the batten into shape.


Once the basic tiller shape was drawn on the ply sheet, İ cutted it out and dry fitted it on the boat to make sure the basic dimensions looked ok.


After minor adjustments to the shape, İ used this template to cut out the two definitive sides İ used for my pink foam sandwich.


Here they are temporarly fixed. A tiller is soon to be born !


The rest was basically a pink mess. I use the plywood skins to cut a slightly larger piece of pink foam and routed a channel on the foam into which the ply would fit on both sides, then hand sanded the whole thing to the point İ was satisfied ....and looked like a pink panther to whoever would walk in me in my garage.


This is what it looked liked just before lamination........................


.......................and the after lamination with carbon tape and sleeve


İ will let it cure, then sand it and finish it with a clear coat. Since this is my first carbon part, İ am not sure what it will look like but İ hope İ will manage to come close to Chad's part.

İf İ dont, well then İ will just paint the whole thing plain white !


Sunday, March 20, 2011

Rudder Sheating

Since my rudder is shaped in Red Cedar, I decided to strengthen it by adding strips of carbon.


I believe Chad sent me a great article on foil shaping and sheating. İf you Google "Guide to wooden Foil construction" you will directly find the pdf article by SP. İt is a great article that clearly shows the different ways of strengthening a Cedar shaped foil.


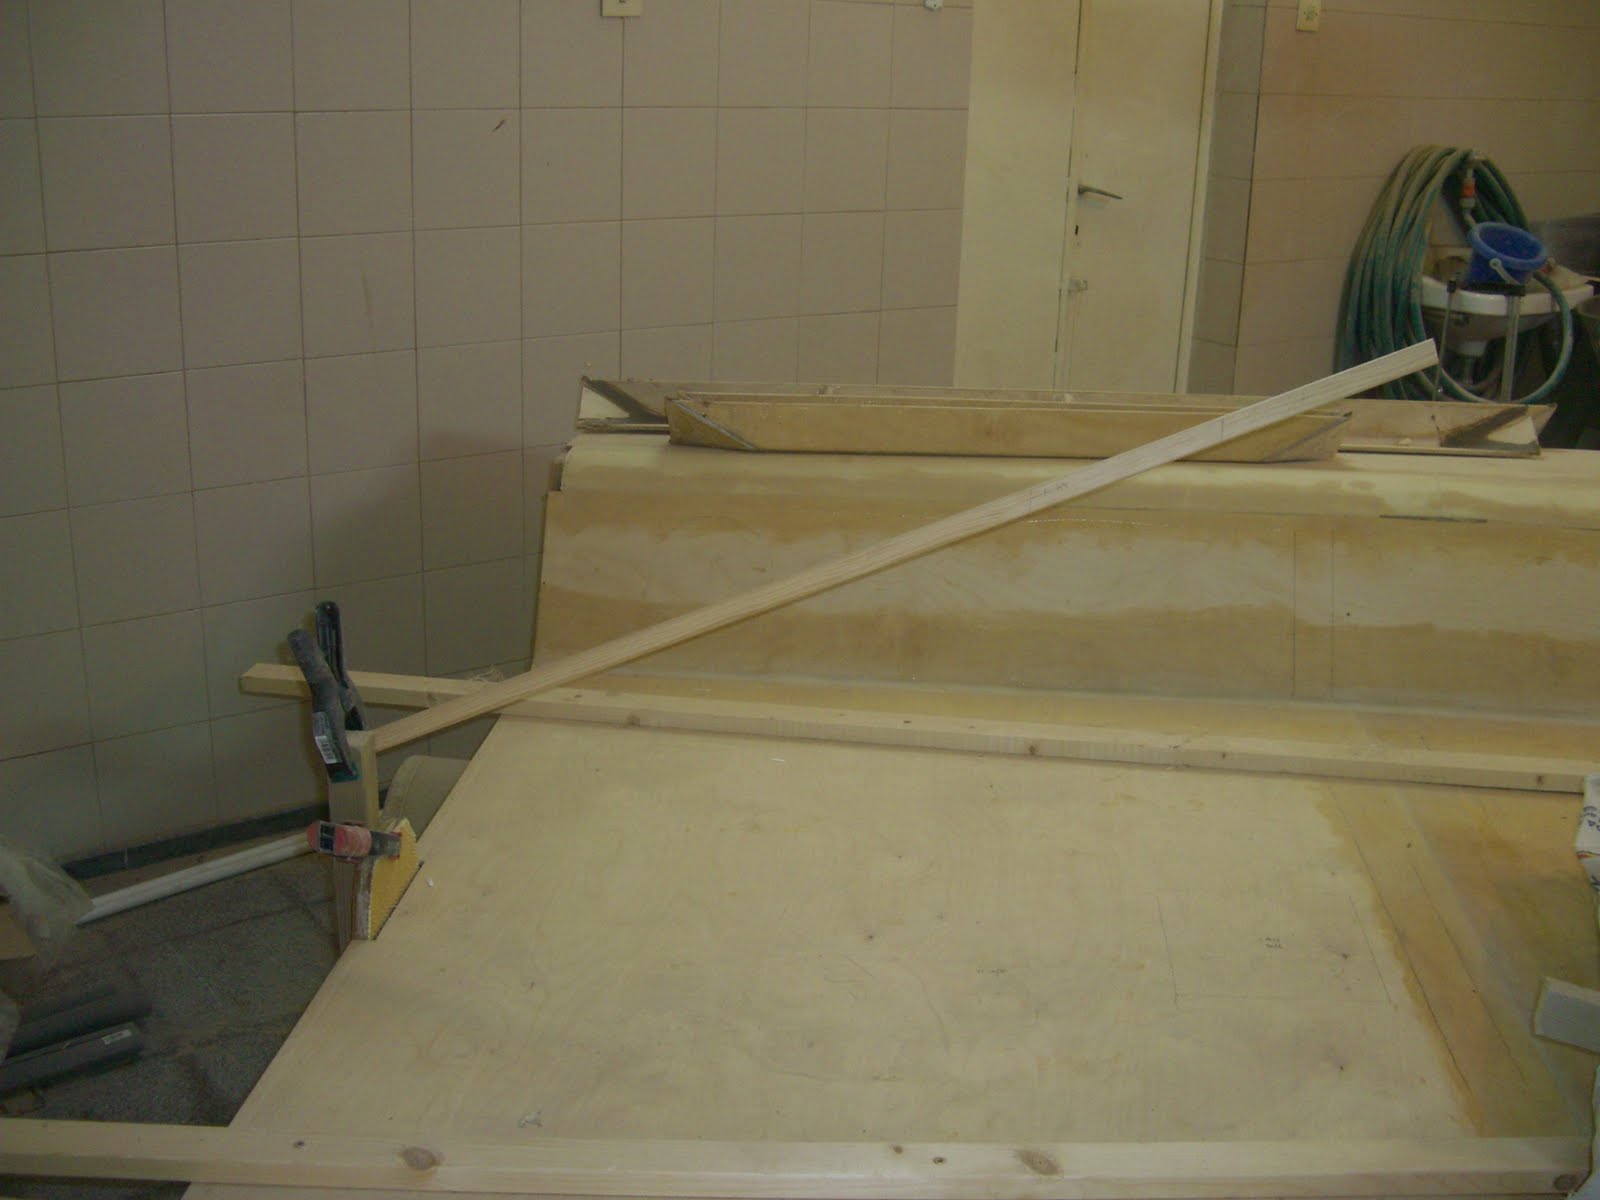
First, I used my router and digged a 3mm recess channel about 10cm wide. I placed this channel right at the max thickness point (30% of chord for a Naca 00012). Since my rudder was already shaped and therefore the surface of both sides was more rounded than flat, it gave me some work to dig that channel properly. Lots of prior trials on a scrap piece of wood before I actually worked on my nicely shaped rudder.


Then I successively layed three layers of 300grs Unidirectional carbon fabric. İt is one thick, smooth carbon fibre cloth ! Great to work with.
Each layer was carefully laminated with resin using a squeegee. All excess resin was removed. So although the fabric is thick, the 3 layers ended up between pretty thin.

Then I flipped the board and did exactly the same on the other side


The recess still came a little deeper than the actual carbon layup so I used fairing compound to bring the foil back to shape using the template I have.


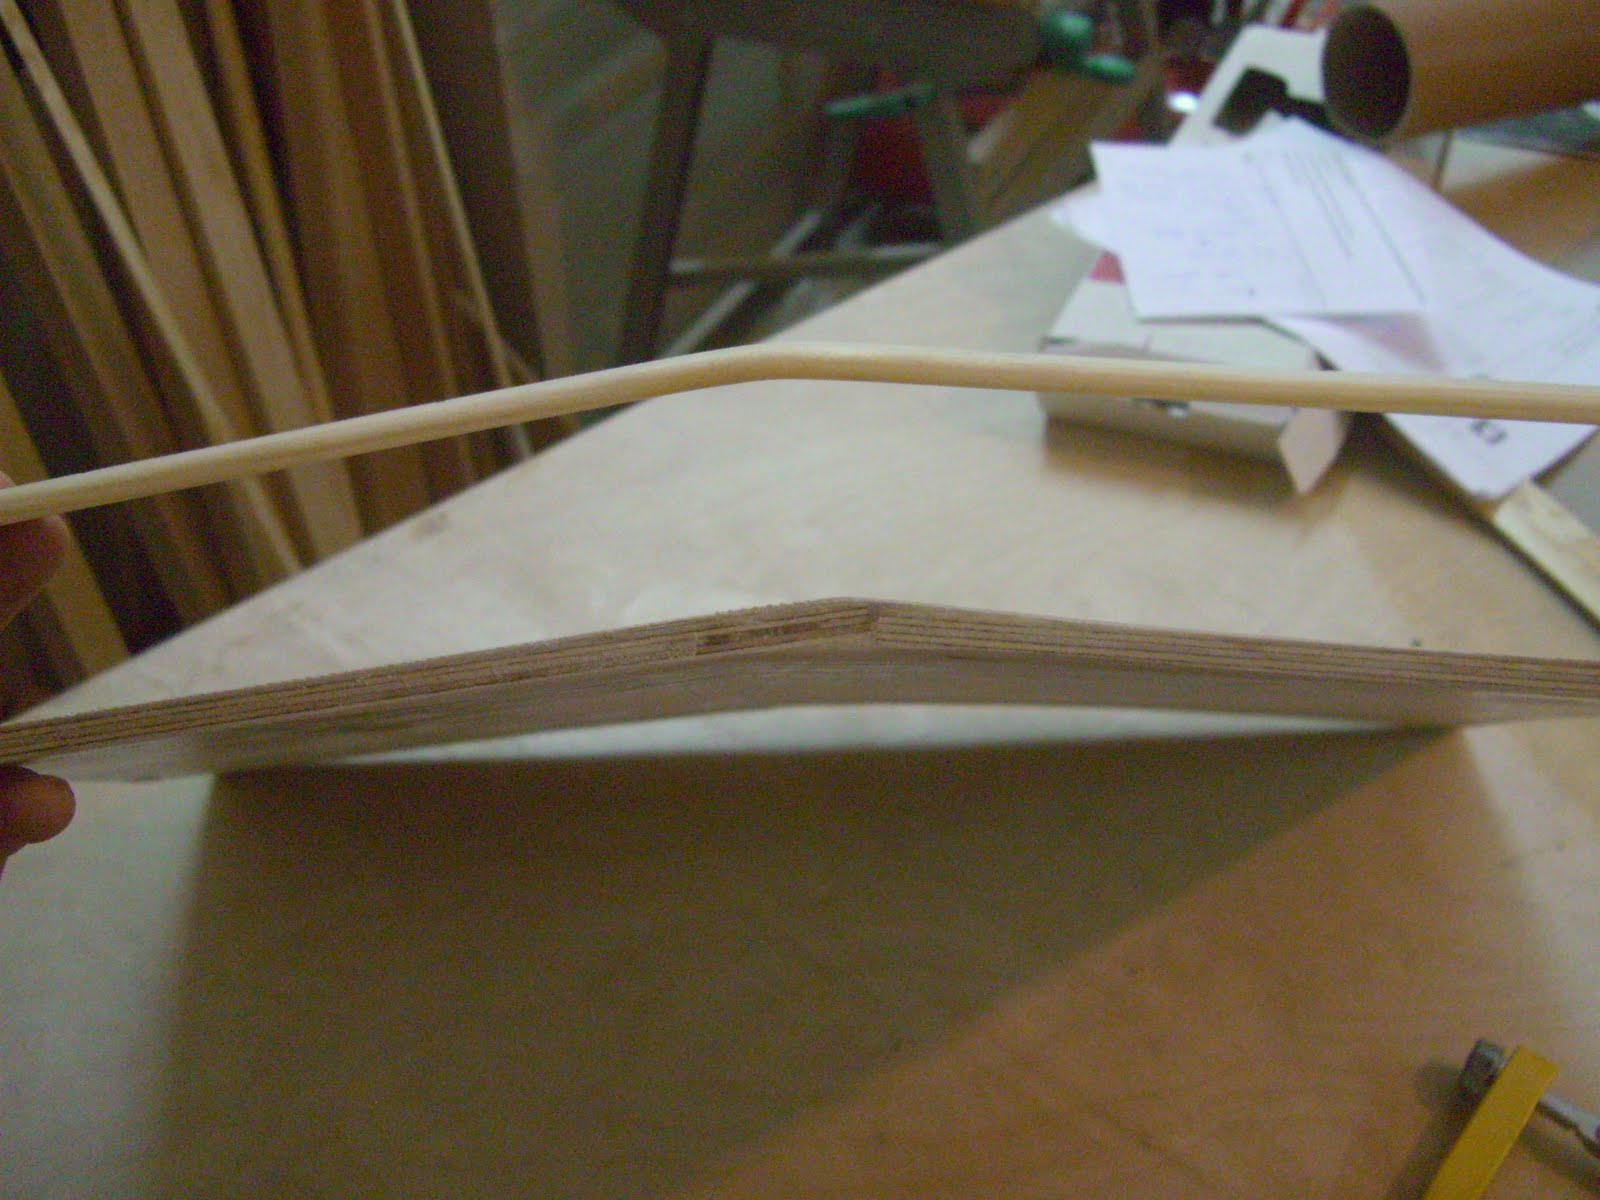
The trick İ used for fairing is very simple. The template İ am using was cut from a scrap piece of ply. İt has the exact shape of one half side of the foil.


First İ placed the template on the foil and "ran" it from one end to the other carefully looking at the amount of empty space İ had between foil and template. This gave me a good idea of where the fairing needed to be done and therefore where to lay down the fairing putty.

I wetted the foil with fresh resin and apply the putty with a spatula roughly where I believed ıt was necessary.
Then again İ placed my template at one end of the foil and carefully dragged all the way to the other end. By doing so, it removed all excess fairing that İ had laid down.


Cleaned up the template, re applied fairing where needed and dragged the template once more.

After about 4 passes, İ had no more voids to fill and no more excess fairing to remove. Simple and effective !


İt was now time to sanding with the longboard but that is such a boring story that İ will just post a picture of the final result.


Laminating was another fun accomplishment. İ decided to laminate the foil with 200 grs carbon cloth. İt is expensive stuff here in Turkey but İ wanted to give it a try. Hopefully one day İ will be able to make carbon parts as nice as some of Chad's....! My objective was to finish it up with a clear coat to give it a high tech racy carbon look.....

The lamination itself was easy and I used the same rack İ had build for the keel.

One single layer of carbon cloth, brush, foam roll and squeegee and that was it. İ took my time to work that resin inside the fiber cloth. İ applied the resin with a brush, rolled it all over with a cheap white foam roll and then squeeged all the excess out. İ came to really like those foam roll for resin application. They work beautifully by wetting the cloth properly without any excess.


İ then clipped the trailing edge with plastic wrapped squared long sticks . That gave me a very clean trailing edge.


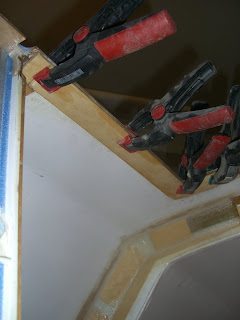
After a little trimming and cleaning İ epoxied some 45 degree carbon cloth to the rudder head. That is to give it more strength against twisting forces which will most likely occur with the tiller forcing the rudder head one way and the water pushing the rudder tip the other way.

For that purpose İ just cut 2 large strips and applied them in a X pattern over the head. Did the same on both sides.


Than following the advices of Chad, İ cut a recess on the leading edge to fit the pins but still allow the rudder to be tucked in the transom when in place. That is supposed to be good, so İ just follow what the more experienced guys have to say...! The recess İ cut out was just about 15% of total chord or about 4cm in my case .


On that picture you can clearly see the diagonal reinforcements which were limited to the rudder's head because İ did not want to mess up with the underwater part which is pretty nice as is.


Then İ again used carbon cloth to laminate the recess. Two layers of carbon tape İ bought and a top layer of regular carbon cloth cut at 45 degrees. Dont ask me why İ did it this way.....no reason whatsoever. But the result looks good.

Truth is that for the first time in this building process İ used peel ply (but no absorbing cloth, though !) The final result when everything is dried and you remove the peel ply is awesome ! Barely any need to sand and a cool little texture to it... Loved the stuff and will use it more .


So the rudder basic construction is pretty much done. İ will reinforce the head where the tiller will grab, install the pins with continous hoops of unidirectional, and clear coat.

Will post pictures of final results.

Monday, March 7, 2011

Cabin hatch door

Seems like one of those really easy things to build but when time came to do it, I just did not know where to start !
Took me some thinking to get it right.....and of course many questions to other builders as how they approached the issue.

One thing I knew : I was going to use alu channels to slide in the vertical panel as well as the cabin top hatch. The point was trying to make the whole thing as water tight as possible... And because of that decision I started thinking about a zillion different ways to do it.

I started glueing thin strips of wood on the cabin interior all around the hatch opening. Those strips only purpose was to give me enough surface to glue the alu channel on. Indeed, the U shaped alu channel is just about 6mm internally (thickness of my ply) but about 8mm externally. So İ needed to make that ply a little thicker. Those strips added about the 2mm needed. They will also serve as the base to glue on the additional ply I will use to cover and hide the alu channel.


Once the strips were glued, I epoxied the alu channel all around. Easy for the vertical bit and a little trickier for the horizontal part. To position the rails at their exact position I slid the top door in for perfect alignment and used blue tape to secure everything in place.

If it fitted perfectly in before gluing, I reckoned it should fit just as perfect after the alu channel were epoxied in place.


Third step was to glue additional ply strips behind all alu channels.
For the horizontal door, those ply strips will help support the alu channels if someone decides to step on the hatch when it is closed..... :( I believe they will also help with the water tightness issue.


For the vertical door, they make for a nice groove to hide the alu channel and helps out preventing water coming in.

Fourth step was find a way to hide those alu channels while the horizontal hatch is open and removed. To do that , İ used thinner strips of wood that İ simply glued on top of the alu channel.One can see on the below picture the small notch İ had to leave on the sides to allow the vertical panel to slide in. These openings would be later covered up by the upper hatch.


İt was fun to "mold" the V shaped batten to fit the front shape of the cabin. İ left it in a bucket of water overnight, clamped it to the cabin hatch the next day and let it dry. When İ removed the clamps, it was perfectly molded to the cabin shape. All İ had to do was epoxi it the followıng day.


At that point İ had my basic hatch done. İt looked good. But trying to make that upper hatch water proof was another challenge....!

What İ did was to glue other strips of ply ON TOP of the cabin hatch. Those strips follow the natural slope of the upper hatch and should therefore divert any water away from the U channels.

Easier to understand with pictures than with words. Took a lot of trial and error, as well as back and forth to the wood shop, to finally find what İ needed and get it right.


So to close my cabin entrance İ first slide in the vertical panel ........... (through the side notch)


......and then slide in the horizontal panel


And this is what it looked when it is all closed up:


Minor adjustments and finishing touches are still necessary and İ already know İ will have to rework the waterproof issue cause water will get in no matter what, but İ am basically done with it.
İ will let you guys know how it all work out as soon as my boat hits the water.